Most footage that reaches us was filmed by a parent or a substitute with whatever was to hand, and the difference between a match that can be analysed properly and one that cannot is rarely the camera. It is where the person stood, how high they were, and what they did with the zoom when the ball went to ground. This is the short version of the filming rules, drawn from World Rugby’s own coaching guidance and from what we see across thousands of matches, with a section on phones because that is what most teams use.
Halfway line, as high as you can get
There is one rule, and everything else follows from it. Film from the side of the pitch, as close to the halfway line as you can, from above head height. World Rugby’s coaching guidance puts both of its standard side-on views at the halfway line, and the reason is geometry: from the corner or the try line, half the pitch is foreshortened into a wall of bodies. Height matters as much as position. From touchline level you see the nearest players and the backs of the rest. From a stand, a bank, a scaffold tower or a mast, you see every player and, more usefully, the space between them. The test is the frame itself: if it shows more grass than sky, you are high enough.
That rules out the most common spot, which is standing on the touchline by the technical area. It is close to the action and useless for shape.
Wide or tight: give one camera one job
Professional set-ups run two cameras from the halfway line, often mounted one above the other. The wide view holds most of the backline in shot at once and is what attack and defence coaches use for patterns and spacing. The tight view follows the ball, a few metres either side of it, and is what you want for rucks, scrums, lineouts and tackle technique. A third view, from behind the posts with good elevation, shows two thirds of the pitch touchline to touchline and is a supplement, not a replacement.
With one camera, you have to choose, and for analysis the answer is a disciplined wide view. Keep enough width to see the first receiver and the defensive line, and resist the urge to fill the frame with the ball carrier. Tight footage looks like television and loses the thing a coach needs, which is what everyone else was doing.
Zoom in when the ball stops, out when it is about to move
The practical rule for the operator, from a guide AnalysisPro published for its own customers, is to zoom in where the ball is not likely to move and out where it is. At a ruck, scrum or lineout, come in so that you can identify players and see technique, with roughly three defenders either side of the breakdown as the baseline. As the ball is about to leave the set piece or the ruck, come out again, and make sure the first receiver is in shot before the pass arrives. On a kick or a line break, go wider still, because the useful information is where the players are, not where the ball is.
Two habits do more damage than any camera choice. The first is following the ball too tightly, which turns every phase into a close-up of a collision. The second is looking away from the viewfinder. Keep your eye on it for the full eighty minutes; the try you miss is always the one that mattered.
Filming a full match on a phone
A modern phone is a good match camera and a bad match camera in the same body. The picture is fine. The problems are heat, battery and storage over two hours, and all three have the same fix: film at 1080p and thirty frames a second, not 4K. An hour of 4K can take a quarter of a phone’s battery and thirty gigabytes of storage, and phones throttle or stop recording when they overheat. At 1080p the same phone records for hours, stays cool and fits a match into a few gigabytes.
Beyond that: mount it on a tripod, because handheld footage is unwatchable at the speeds analysis needs and a stable mount beats any specification. Film in landscape. Lock the focus and exposure so the picture does not hunt every time a white shirt crosses the frame. Put the sun behind you if you can choose your side. Turn on airplane mode so a call does not stop the recording, clear the storage before kickoff, and bring a power bank. And record straight through half time rather than stopping, because the restart is the moment people miss.
Auto-tracking cameras and fixed cameras
The auto-tracking cameras that sit on a mast at the halfway line and follow the ball solve position and height for you, and they film every match the same way, which is worth a lot over a season. Their limit is the same as a tight-zooming operator’s: they follow the ball, so the off-ball shape is what they lose, and the footage still has to be analysed by someone. The camera guide compares the options.
What to do with the footage
Footage on its own changes nothing. Somebody has to turn it into clips and numbers, and for most teams the best option is to have that done for you. Framesports takes the footage from any camera or phone, or a link to where it already sits, and returns the match tagged, with clips and player stats, and each player’s clips sent to them by WhatsApp and email. It is priced for a school or team rather than a professional programme. If you would rather tag it yourself, do you need an analyst or just the analysis is the honest comparison of the two routes.
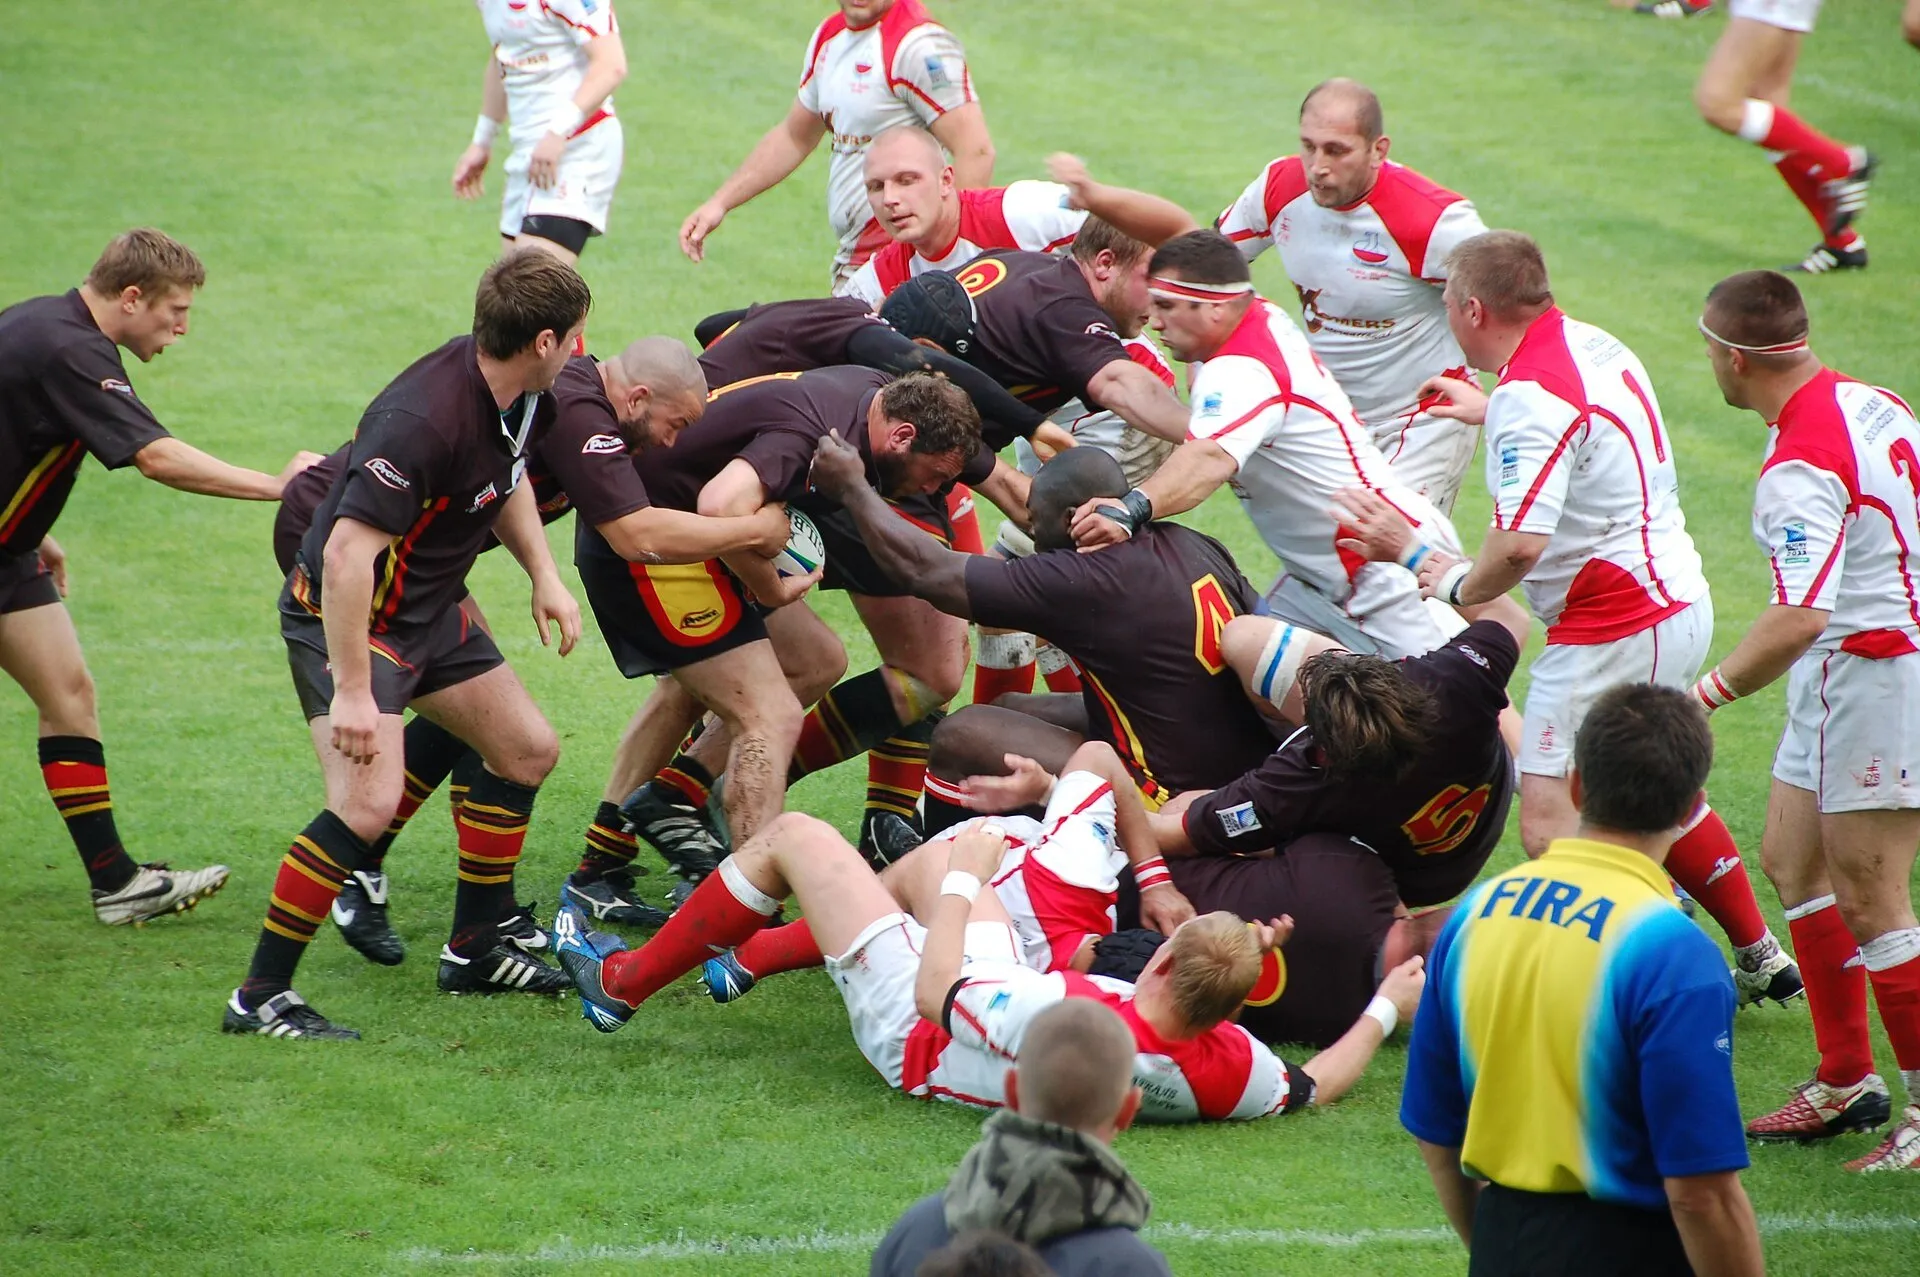
Hero photo: Suyash Dwivedi, CC BY-SA 4.0, via Wikimedia Commons.